

How To Repair A Tile Shower Base
(Update – Click here to see how my painted shower is holding upwards later a year of use!)
Who here has outdated tile in their bathroom but doesn't want to rip it out and replace it? (I'yard looking at you lot, mom!) Did y'all know that you can paint it?
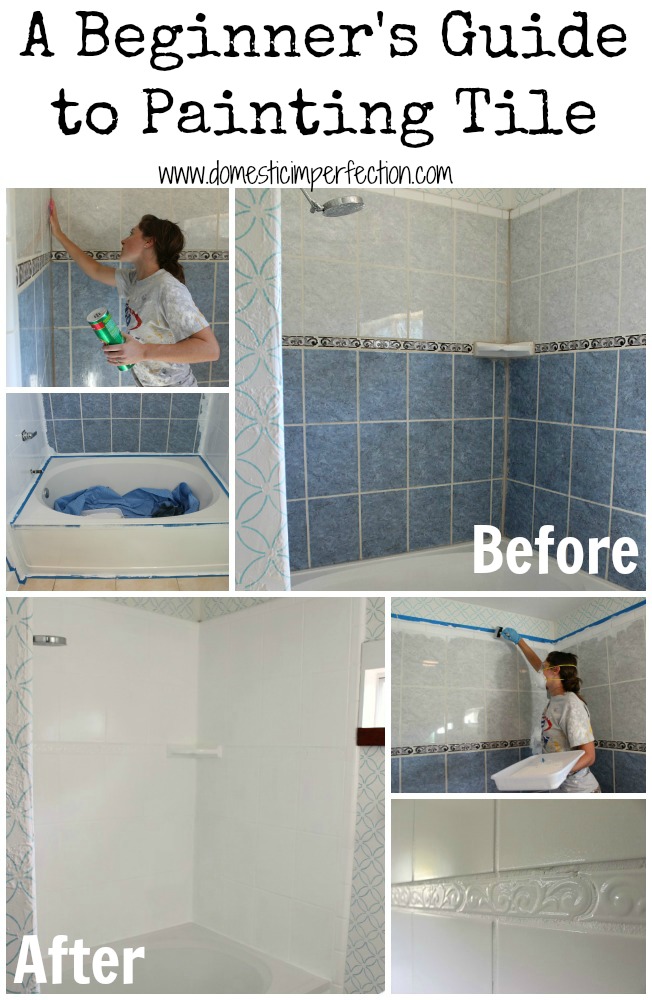
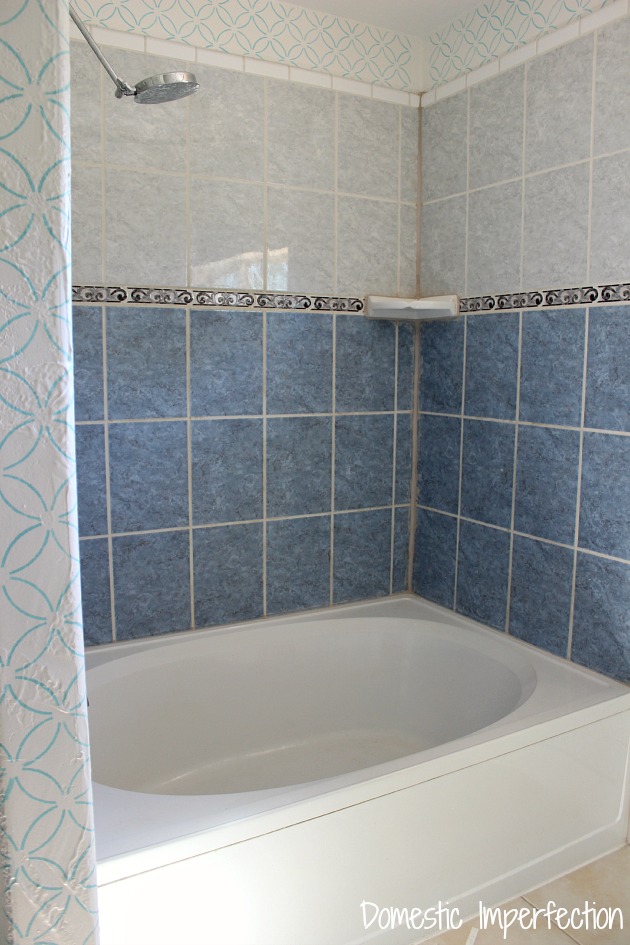
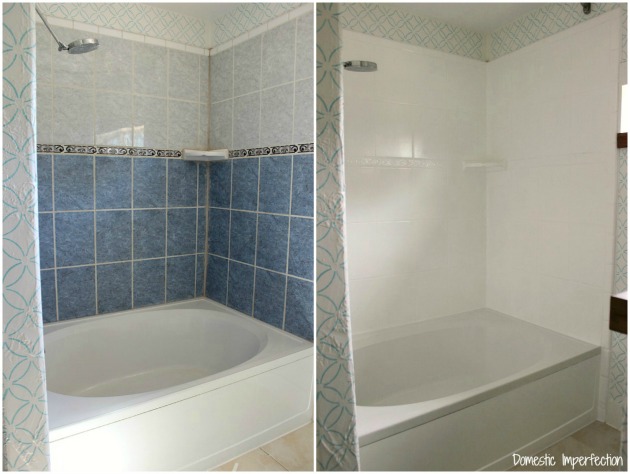
I wavered about doing something with the tile in our principal bathroom for a long time. It'south non terrible and I don't hate it…but by the same token I don't love it either. I didn't want to rip information technology out and re-tile…in our forever business firm, yes, in this firm, non gonna happen. I finally decided to give painting information technology a whirl, generally considering I like to experiment and I thought some of y'all might be curious near the process. Plus I figured solid white would be an improvement over the blue, gray and swirlies.
So let'south get started. First off, yous need supplies. Quite a few of them.
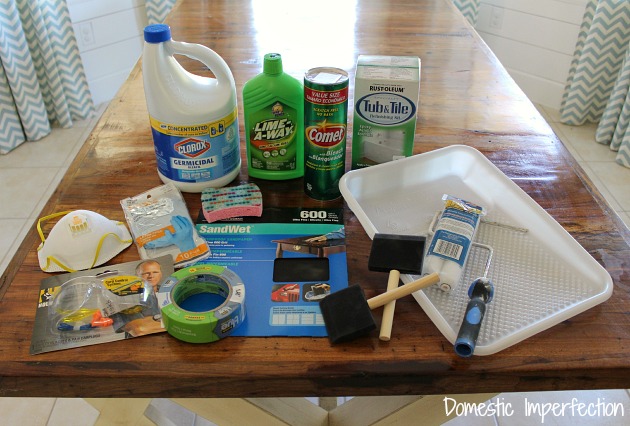
Supplies
You may or may not need –
- tools to remove caulk
- grout
- caulk
- dropcloth
The showtime thing you need to do is remove all the caulk from the areas you will be painting, since you tin can't paint over information technology. (You can go back and add it after your shower is painted and dry out). Nosotros didn't really take any caulk, but what we did have was croaky, chipping, and missing in grout in the corners and edges.
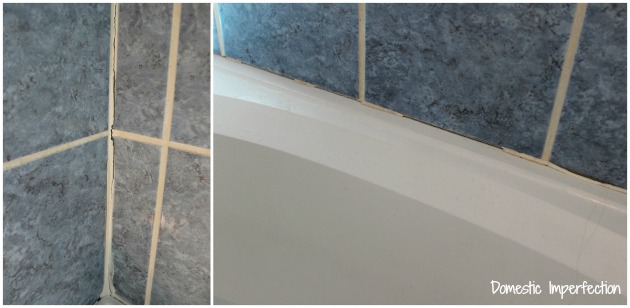
Adam decided to go ahead and remove all the cracked grout and replace it. He said it was for the betterment of the tub, I think he just likes destroying things.

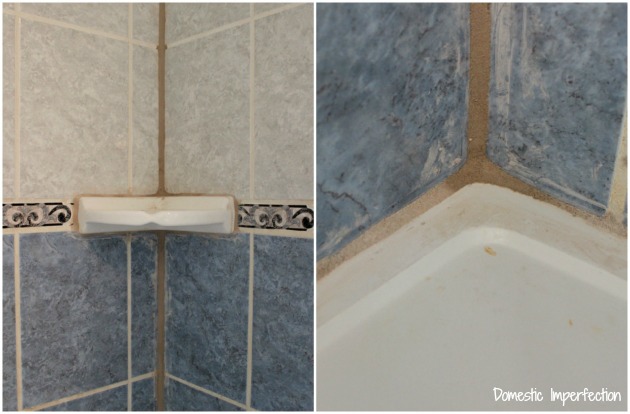
Here is the official earlier picture, after a few hours of work.
The first pace to painting a tub/shower is cleaning it. (Actually, the commencement iv steps are cleaning.) This was new territory for me, I am terrible at cleaning our showers. Terrible pregnant I just never practise it. If I don't make something a meridian priority effectually hither information technology doesn't get done, and scrubbing showers is never a top priority. In my stance you shouldn't even accept to clean showers, their whole existence is centered around soap and water…they should be self-cleaning. Can I get an amen?
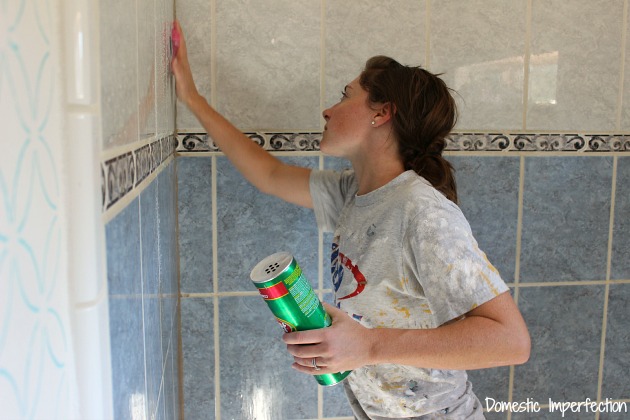
Hither are the cleaning steps, I simply did exactly what the box told me to do.
- Clean with bleach water to remove mildew. Rinse.
- Scrub with Comet and an abrasive pad. Rinse.
- Clean with Lime-A-Style. Rinse.
- Sand with 400/600 wet/dry sandpaper. Rinse.
- Let dry for at least an hour.
The result? Insanely clean tiles. Literally then squeaky clean that I could have used the refection to do my make-upwardly. So beautifully clean that I may just go completely crazy and scrub my shower once in a while.
Next I taped off the shower with ScotchBlue™™ Painter's Tape.
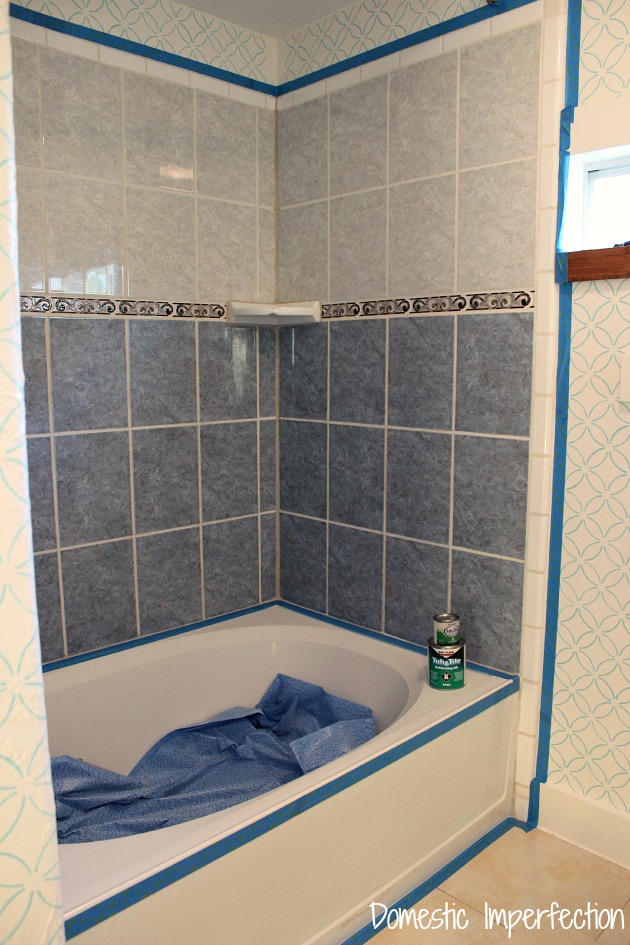
Hither is what I was thinking when I did this…
I wanted to paint the tiles, but I didn't desire to pigment the bodily tub (except for the front, because it had some discoloration). The tub was already white and not in bad shape. No need to fix what isn't broken, right? Also, the tub and tile paint has great reviews online (yous can read them hither on Amazon) just whenever I read a negative review information technology said something like "information technology'south been a couple of years and information technology'due south holding upward great except for some chipping and peeling around the drain." If the flooring was everyone'southward trouble expanse, and then I wanted to avoid painting the flooring.
The offset step to painting is to mix the paint. It's a two-part epoxy pigment that you mix together past pouring part A (the activator) into function B (the base). You can utilise information technology on porcelain, ceramic, and fiberglass. And so use your brush to cut in the edges and corners, simply similar you would if you were painting a wall.
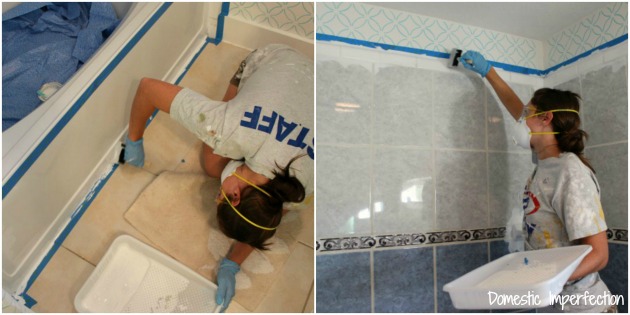
When that is done become afterwards it with a roller…
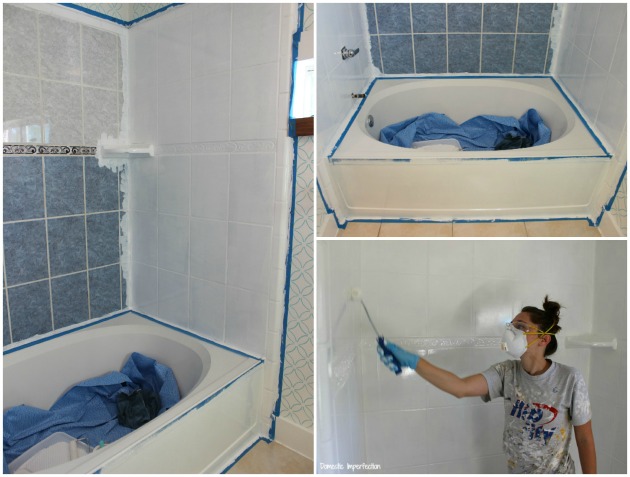
Painting a tub may sound a picayune scary and intimidating, but really, it's no different from painting annihilation else and information technology doesn't actually have whatever longer. (You just need to wait near an hour or 2 between coats).
Okay, I lied a trivial…there is one major divergence betwixt painting tile a painting a wall.
THE SMELL. The tile paint is so freaking ridiculously strong, it'south insane. Do non even recollect about doing this without a respirator. I used this mask and could smell it a flake, but it wasn't bad. I would think that a mask like this would practice a much better task. The fumes were so stiff that my eyes teared upwards a bit and I seriously considered putting on my snorkeling mask. I thought the Waterlox we used to seal our butcher cake countertops and farmhouse tabular array was bad, merely information technology has zip on this tile paint. You tin tell I'm a mom because the only comparison I can make is comparing Waterlox to newborn diapers and tile pigment to toddler diapers. Neither are pleasant, merely equally soon as you graduate to solid food toddler diapers you realize those newborn diapers basically smelled terrific.
Here are a couple of things yous should NOT exercise while painting…
Exercise NOT use a roller that isn't cream. I did some research earlier starting this project and it was recommended that you use a low nap roller over a foam roller. That's all fine and dandy and obviously worked for some people, but my roller left tiny raised hairs all in my paint. Literally everywhere.
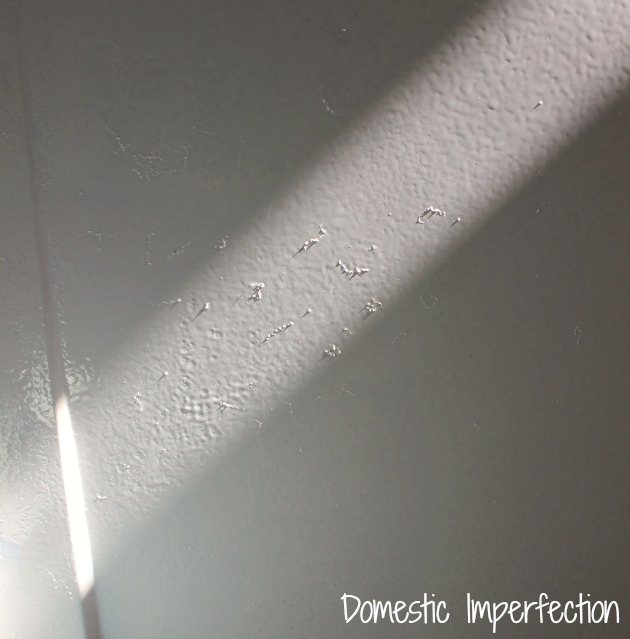
I ended up sanding again subsequently the first coat with the 600 grit sandpaper to smooth them out and using a foam roller for the rest.
Also, do Not use the same paint tray for consecutive coats. Employ a liner and throw it away after each coat, even if the paint in it looks dry and safe to pour over. The new pigment will re-energize the old stuff, merely enough to go out tiny, bumpy, gelatinous spots all over your prissy smooth pigment job and brand you lot want to hurt somebody. (I couldn't become a proficient picture of this.)
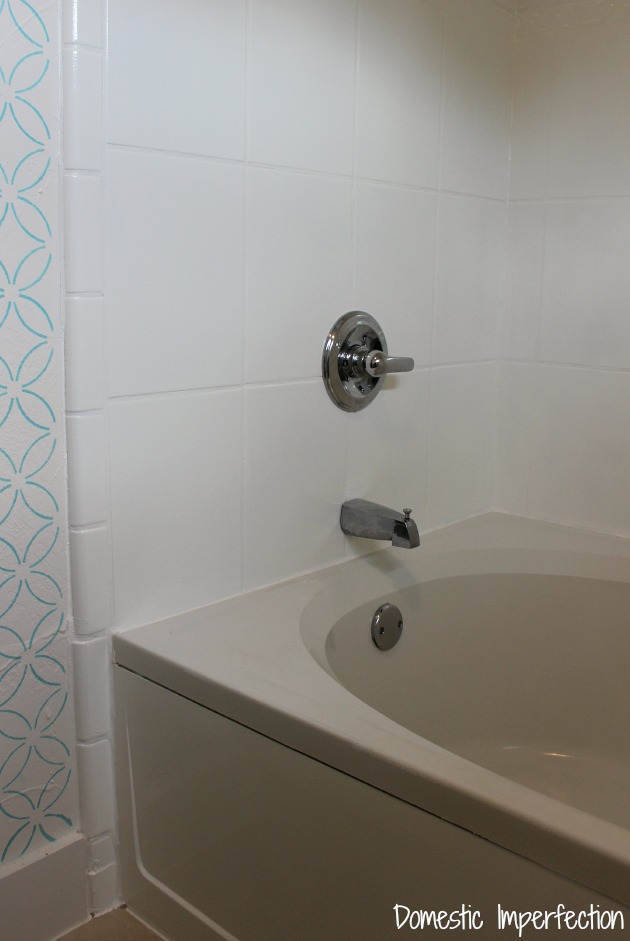
With that being said, here is the final production…it looks so bright and clean! Perhaps a little likewise brilliant and make clean…I recollect I accept to paint the tub now. I used to think information technology was white, but against the ultra white paint it looks gray and dingy (it looks better in pictures than in person).
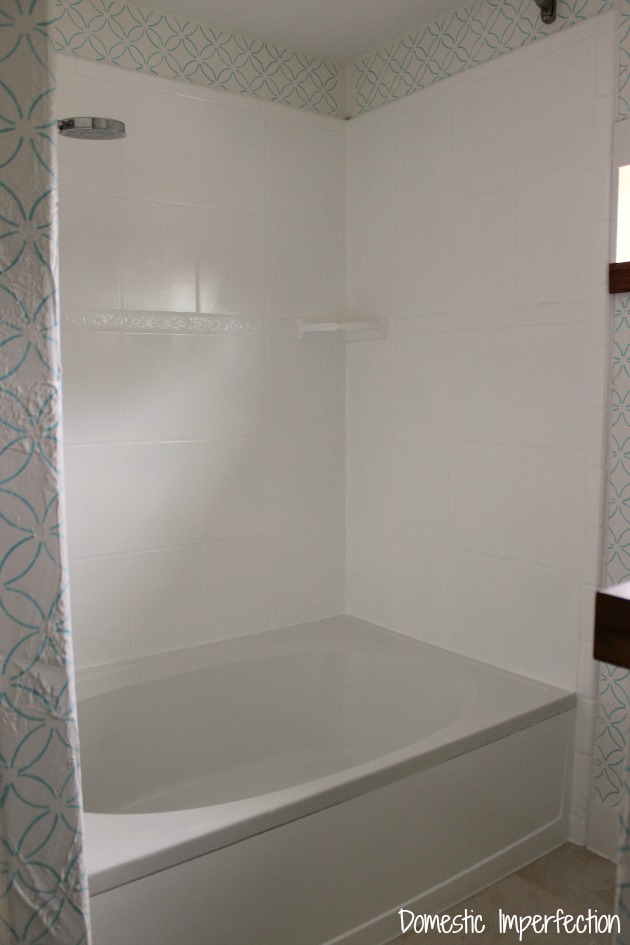
The finish on the paint it surprisingly great. Information technology's polish and shiny and actually doesn't experience like it's going anywhere. Adam was very skeptical before we started, he told me "only because you can fix things with paint doesn't mean you lot should." Now that is complete he suggested we do the guest bathroom too.

If y'all have any questions just leave them in the comments and I will exercise my best to answer you!
UPDATE – CLICK HERE TO Come across HOW It IS Property UP AFTER A YEAR!
Update #2 – I but saw that Rustoleum now makes a bear upon-up kit for this production! Now if I do become some chipping I can easily set it without ownership and mixing upwards a quart of paint.
I besides noticed that they sell a spray paint version of this product, and also one for appliances. I've never tried either of these, simply they have great reviews.
You may also similar –
How to Brand Muddied Grout Look New
Paper Handbag Flooring – A Tutorial
My Painted Kitchen Cabinets – V Years Afterward
How to make your kitchen look custom for under $50 (hint: It's not pigment!)
How to plow a dresser into a bath vanity

Source: https://wildfireinteriors.com/how-to-refinish-outdated-tile/
Posted by: parkerhisevout.blogspot.com
0 Response to "How To Repair A Tile Shower Base"
Post a Comment